 Ubuntu Phone documentation
Scopes tutorials - developing in JavaScript
Welcome to this tutorial for a developer preview of the JavaScript scopes API. Have fun with it and stay tuned for news on this project very soon!
If you get stuck, encouters a bug or have questions, make sure to reach out to the app developer mailinglist or comechat with us!
In this tutorial, you will have an overview of how to create a scope in JavaScript, using the Ubuntu SDK. For this example, very basic JS knowledge is actually required and adapting the provided template to use another API or online service should be very simple.
Note: JavaScript scopes development is supported from Ubuntu 15.04 (Vivid) onwards.
Requirements
Before going through this tutorial, you need to have the Ubuntu SDK installed and click targets created, preferably for the desktop and phone (armhf) targets.
You also need to install the JS scopes dev tools and prepare your dev environment with the following commands:
$ sudo add-apt-repository ppa:unity-api-team/unity-js-scopes
$ sudo apt update
$ sudo apt install unity-js-scopes-dev
$ unity-js-scopes-tool setup
It's important you execute this last command after creating a click target, otherwise your dev environment will not be setup correctly.
You are now ready to start developing JavaScript scopes!
API documentation
The API reference will be available here very soon, in the meantime, you can
browse an early build or access it locally on your system with the unity-js-
scopes-doc package.
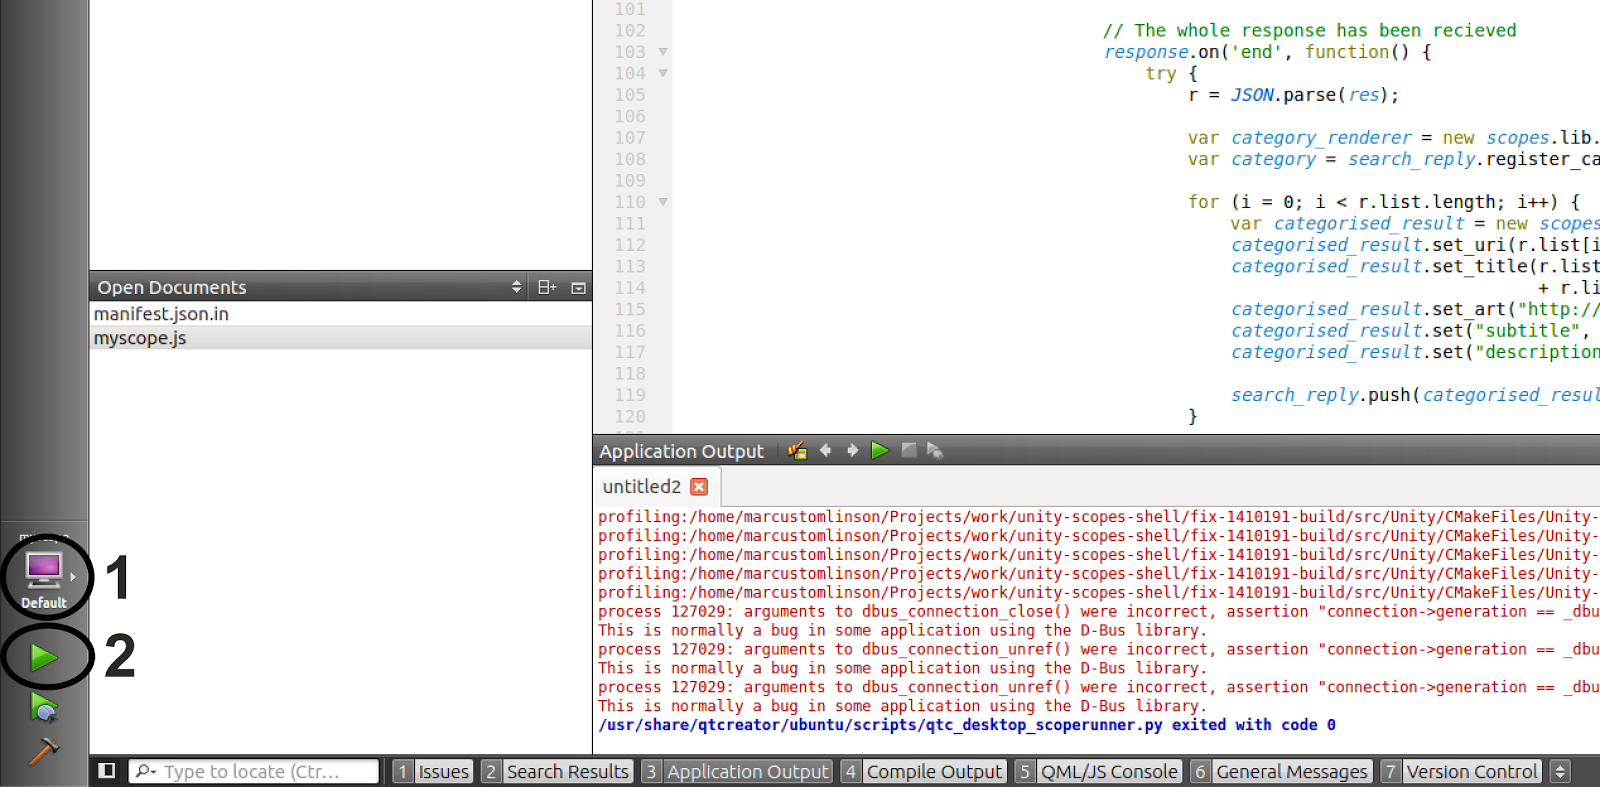
Testing your scope
At any point during this tutorial, you can press the Play button on the sidebar of the SDK to test the scope on your desktop, phone or in anemulator.
Create a new JavaScript scope
We are going to start by creating a new scope project and run the template provided by default (a weather scope using the OpenWeatherMap API).
Open the Ubuntu SDK IDE, click the "Create a New Project" button, then select the "Unity Scope (JavaScript)" template.
The project wizard will appear and prompt you to fill your project details:
- Fill in your project name and location, then click “Next”.
- Ensure that these details are correct, then select your prefered “Template type” (i.e. if the web service you intend on querying returns XML data, select “JavaScript scope using HTTP and XML”, and so on), then click “Next”.
- Enable all of the kits listed, then click “Next” again.
- Select a version control (optional), then click “Finish”.
- At this point, a few dialogs labeled “CMake Wizard” will appear (one after the other) for each Click target you have installed on your system. Simply click Next -> Run CMake -> Finish on each of them to complete the project creation process.
Once the project is created, you should have been switched to the editor window. Although you haven’t written any code just yet, the template comes with an example implementation that you can work from!
To test this scope, first ensure that the build target is set to Desktop, then
click the Play icon on the left pane (or alternatively, press Ctrl+R).
This will popup a window containing a preview of what your scope will look like on the phone. Here you can interact with your scope and test that everything is working as expected (search for a city, preview a weather result, etc.)

Project overview and npm integration
Let's go back to our editor window. On the left side, your project tree should look like this.
    scope_name
    ├── CMakeLists.txt
    ├── CMakeLists.txt.user
    ├── manifest.json.in
    ├── po
    │   └── ...
    ├── src
    │   ├── CMakeLists.txt
    │   ├── data
    │   │   ├── icon.png
    │   │   ├── logo.png
    │   │   ├── scope_name.ini.in
    │   │   └── scope_name-settings.ini.in
    │   ├── node_modules
    │   │   └── ...
    │   └── scope_name.js
    └── scope_name.apparmor
Our main focus is going to be src/scope_name.js. It is the core of your
scope. If you are already familiar with scopes, its content will ring a few
bells and you should be able to get productive quickly, if not, take a closer
look at the API overview below.
npm integration
Another area of interest in our tree is the node_modules directory, yes npm + scopes.
You don't have to access it or modify this directory directly since the
unity-js-scopes-tool command line utility makes it incredibly easy to add
npm packages to your scope.
Running unity-js-scopes-tool install <path/to/project/src/node_modules> <npm
package> will install any npm package in your project, giving you access to
all the API wrappers and tools you are used to if you are familiar with the
node ecosystem. Have a look at the npm website to
see what's available!
API overview
In this section we will give a brief overview of the scope development process and runtime context to help you get started.
Basic structure of a JavaScript scope
In order to connect to the scope runtime, your scope will only need to follow a few simple guidelines:
- Import the JavaScript Scope module in your code.
- Set up your scope runtime context.
Those steps basically come down to this code:
var scopes = require('unity-js-scopes')
scopes.self.initialize({}, {});
Once imported, the unity-js-scopes core module is the entry point to
collaborating with the scope runtime. The runtime takes care of setting up
your scope, collaborating with the Dash and reflecting the user’s interactions
with the visual elements displayed by Unity as a result of the search entities
pushed by your scope to Unity.
In the context of the initialization code above, the ‘self’ property is here
to help you with that interaction. It references the currently running scope
context and the initialize method is one of the actions that you can take on
it.
Besides defining some runtime elements about your scope, as we will see later, your scope runtime context allows you to inspect the current scope’s settings, be informed of changes in the scope runtime environment, etc.
Runtime elements
We can now review the scope code and start defining some key elements of its runtime functional behavior.
Once a scope is connected with the runtime and has been activated by the user, the scope runtime forwards all actions triggered by the user. The endpoint targets of these forwarded actions are API functions defined by your scope during the initialization process.
Those API functions are optionally defined by your scope’s code and reflect some key steps that can be triggered at runtime. Here are some of those key runtime callback functions that you can provide to the runtime in order to be informed of various steps in the scope lifetime:
run: callback function called by the runtime as the scope is about to be runstart: callback function called by the runtime as the scope is about to be startedstop: callback function called by the runtime as the scope is about to be stoppedsearch: callback function called by the runtime as the user requests a search to be performed in the scope context. The runtime calls the function with parameters that provide all the information about the search. Your task is to then interact with the runtime by pushing potential results to it. You can also control the way that those results are displayedpreview: callback function called by the runtime as the user requests a preview to be performed on one of the results sent above. The runtime calls the function with parameters that provide all the information about the result whose preview is being requested
var scopes = require('unity-js-scopes')
scopes.self.initialize({}, {
    run: function() {
        console.log('Running...');
    },
    start: function(scope_id) {
        console.log('Starting scope id: ' + scope_id + ', ' + scopes.self.scope_config)
    },
    search: function(canned_query, metadata) {
        return null
    },
    preview: function(result, metadata) {
        return null
    },
}});
For each of the scope runtime callback functions that reflect the user’s interaction, the scope runtime expects your scope to send back an object that will describe various key interactions given the current runtime step.
For example, the search function callback expects your scope to send back a
SearchQuery object. You will use this object to specify the behavior of the
scope for the corresponding current search input.
The SearchQuery object can specify a run callback function that will be
invoked if the search is to be performed, and a cancel function that will be
invoked if the user cancelled the search.
The scope runtime will hand off a SearchReply object as part of the
arguments of the run function mentioned above. This object will be used to
push results back to the runtime along with some optional result rendering
information.
This collaboration model is a core interaction model used between the scope runtime and your scope.
Pushing search results
One key element of the search collaboration sequence highlighted above is the ability for your scope to push back results to the scope runtime.
Those results will be pushed with the SearchReply’s push function.
This function expects an element of type CategorisedResult to be created for
each result item, and pushed back to the runtime. The result object will allow
your scope to specify information to be displayed like title, icon, uri, etc.
for each result.
One important additional capability exposed by the CategorisedResult object
that you can specify at creation time is the visual specification of the
rendering layout for the result.
Those layout specifications will be described by Category and
CategoryRenderer objects that your scope will have to create.
The former allows you to group your search results and give them an id,
along with an optional CategoryRenderer. The latter allows you to describe
the layout of the displayed results in a json format.
Here is the search method from the template:
search: function(canned_query, metadata) {
  return new scopes.lib.SearchQuery(
    canned_query,
    metadata,

    // run
    function(search_reply) {
      var qs = canned_query.query_string();

      if (!qs) {
        qs = "London,uk"
      }

      var current_weather_cb = function(response) {

        var res = '';

        // Another chunk of data has been received, so append it to res
        response.on('data', function(chunk) {
          res += chunk;
        });

        // The whole response has been received
        response.on('end', function() {

          r = JSON.parse(res);
          var category_renderer = new scopes.lib.CategoryRenderer(JSON.stringify(CURRENT_TEMPLATE));
          var category = search_reply.register_category("current", r.name + ", " + r.sys.country, "", category_renderer);
          var categorised_result = new scopes.lib.CategorisedResult(category);
          categorised_result.set_uri(r.id.toString());
          categorised_result.set_title(r.main.temp.toString() + "°C");
          categorised_result.set_art("http://openweathermap.org/img/w/" + r.weather[0].icon + ".png");
          categorised_result.set("subtitle", r.weather[0].description);
          categorised_result.set("description", "A description of the result");
          search_reply.push(categorised_result);

          // We are done, call finished() on our search_reply
          search_reply.finished();
        });
      }

      http.request({host: query_host, path: current_weather_path + qs}, current_weather_cb).end();
    },

    // cancelled
    function() {
    }
  );
}
Previewing search results
Once the results have been pushed to the scope runtime and displayed, the user
can interact with them by requested a preview of each result by pressing on
it. The scope runtime informs your scope of this action with the preview
callback specified as part of the initialization part of your scope.
Following the same collaboration model as specified before, the scope runtime
expects your scope to create and return a PreviewQuery object that will be
used as an interaction bridge. This object will have to specify a run and a
cancel function, those function having a similar semantics as the ones
mentioned in the search section.
Two key elements are demonstrated by the template: column layouts and preview widgets.
As their names imply, the column layout elements are used to specify the visual layout of the preview components that make up a preview page.
The preview widgets are the elements that constitute the preview pages.
Once those are in place, the association between a preview widget and the data that it is bound to is done by means of “ID”s associated with each one. Each widget declares the value IDs drawn from the set of IDs found in the corresponding result object that it is bound to.
Examples of such IDs are the default ones such as “uri”, “art”, etc. The
result can also contain some non-default IDs, that are set by the set()
function of the CategorisedResult object.
Here is the preview method from the template:
preview: function(result, action_metadata) {
  return new scopes.lib.PreviewQuery(
    result,
    action_metadata,

    // run
    function(preview_reply) {
      var layout1col = new scopes.lib.ColumnLayout(1);
      var layout2col = new scopes.lib.ColumnLayout(2);
      var layout3col = new scopes.lib.ColumnLayout(3);
      layout1col.add_column(["image", "header", "summary"]);
      layout2col.add_column(["image"]);
      layout2col.add_column(["header", "summary"]);
      layout3col.add_column(["image"]);
      layout3col.add_column(["header", "summary"]);
      layout3col.add_column([]);
      preview_reply.register_layout([layout1col, layout2col, layout3col]);
      var header = new scopes.lib.PreviewWidget("header", "header");
      header.add_attribute_mapping("title", "title");
      header.add_attribute_mapping("subtitle", "subtitle");
      var image = new scopes.lib.PreviewWidget("image", "image");
      image.add_attribute_mapping("source", "art");
      var description = new scopes.lib.PreviewWidget("summary", "text");
      description.add_attribute_mapping("text", "description");
      preview_reply.push([image, header, description ]);
      preview_reply.finished();
    },

    // cancelled
    function() {
    }
  );
}
Package creation
The SDK IDE handles all the packaging process, simply follow these instructions to ensure your scope will look great once installed on your phone for testing or when published in the store.