 Ubuntu Phone documentation
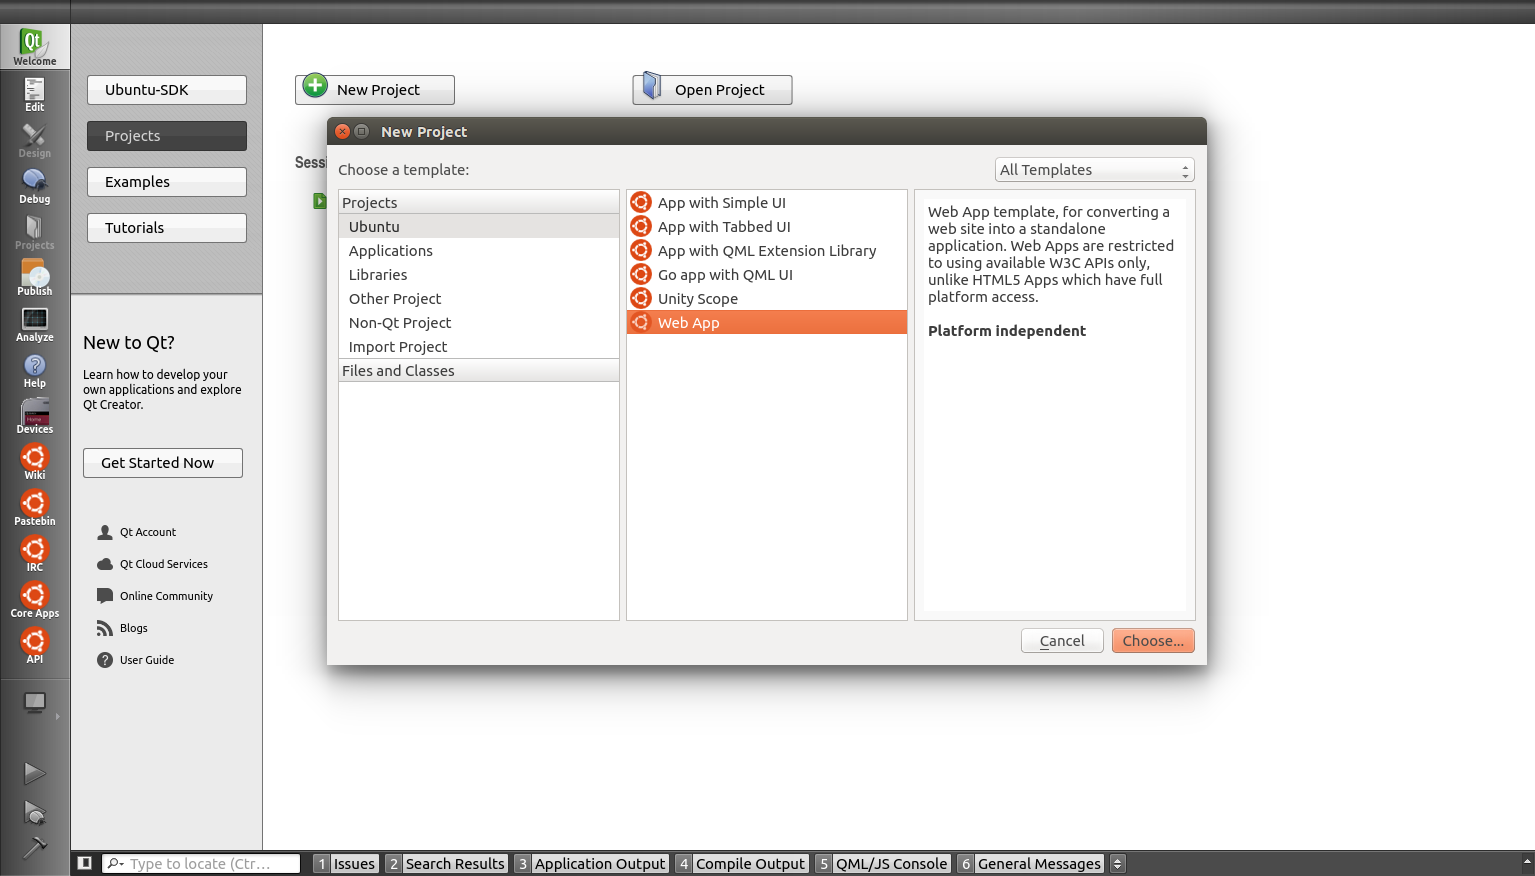
Tutorial - create your first web app
Ubuntu web applications are standalone browsers restricting navigation to certain URL patterns. They are very easy to make : using the SDK, you can turn any website into a web app in minutes. In this tutorial, we are going to make a webapp for BrowserQuest, a multiplayer RPG created by Little Workshop and sponsored by Mozilla. Before going further, you may want to check the following resources to be sure you understand everything you will be doing :
First step : Creating the project
Open the Ubuntu SDK, click on New Project and choose the Web App template.
Project info
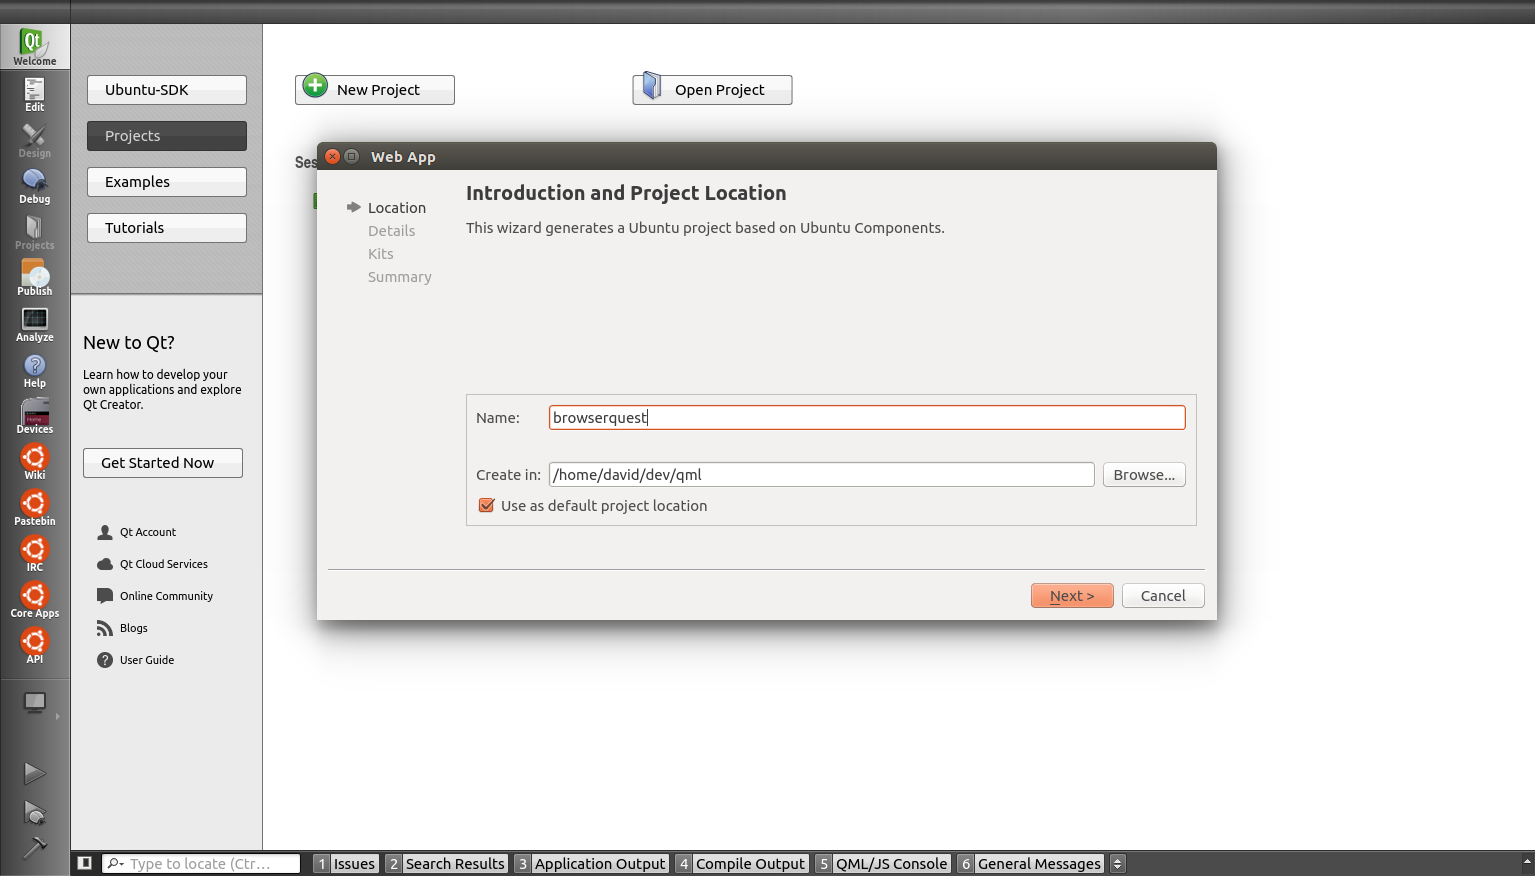
You will be asked some information about the project:
- The name of the project :
browserquest - Its path
Click info
-
Your developer nickname also known as "package namespace", this has to match the one you are using to publish in MyApps. It will be appended to your package name in order to ensure that packages of the same name uploaded by two developers will remain unique. If you have a Launchpad username, you should use that.
-
Your maintainer information : your name and email
- The name of your app : BrowserQuest

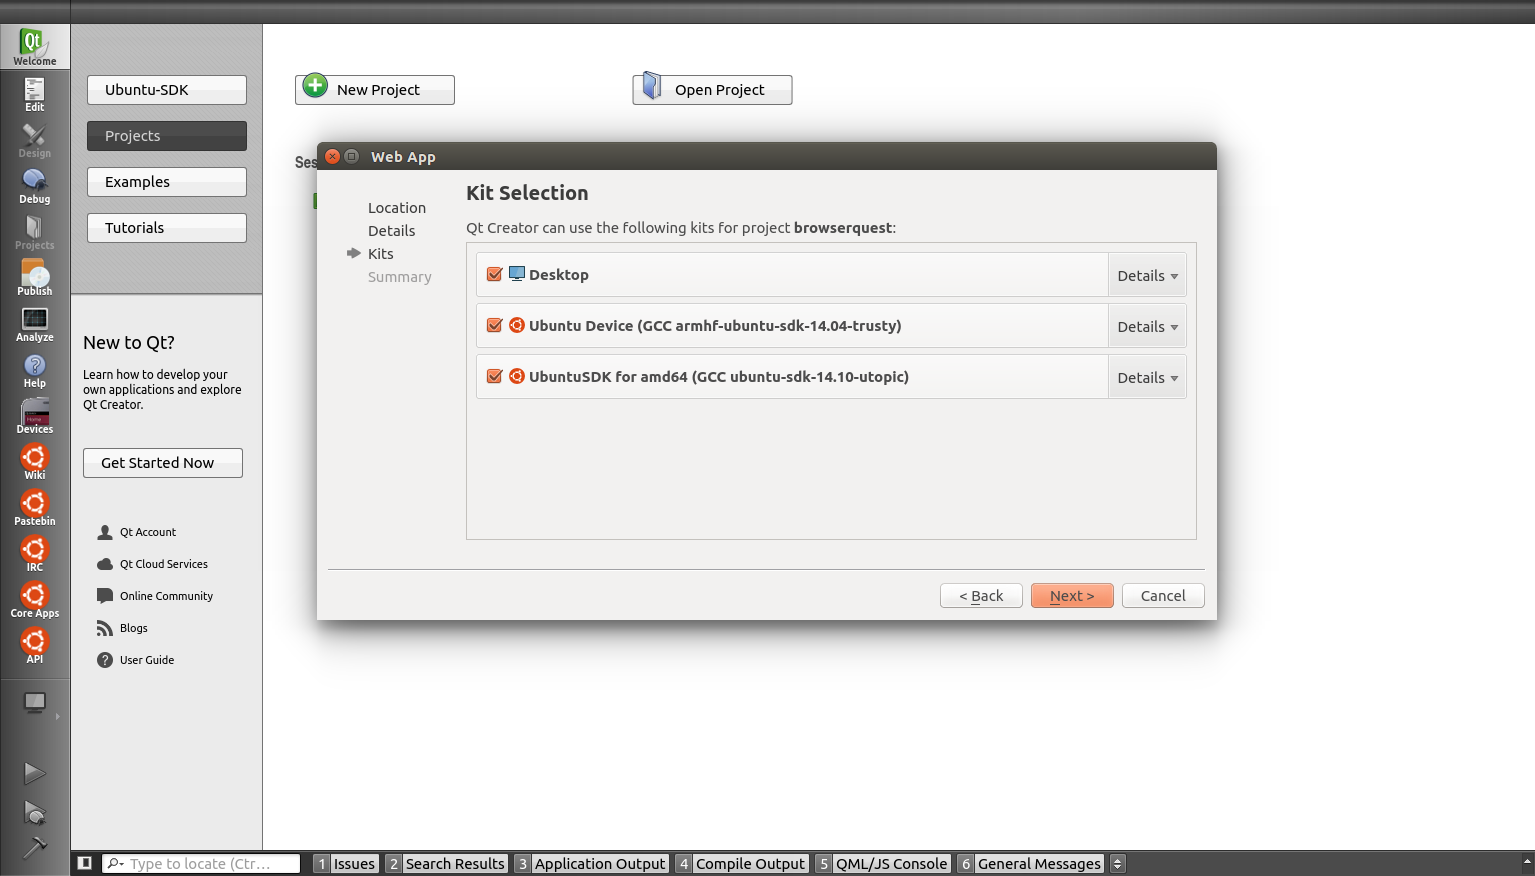
Device info
- Device kits](../../platform/sdk/tutorials-running-apps-from-the-sdk.md) your project will be using.
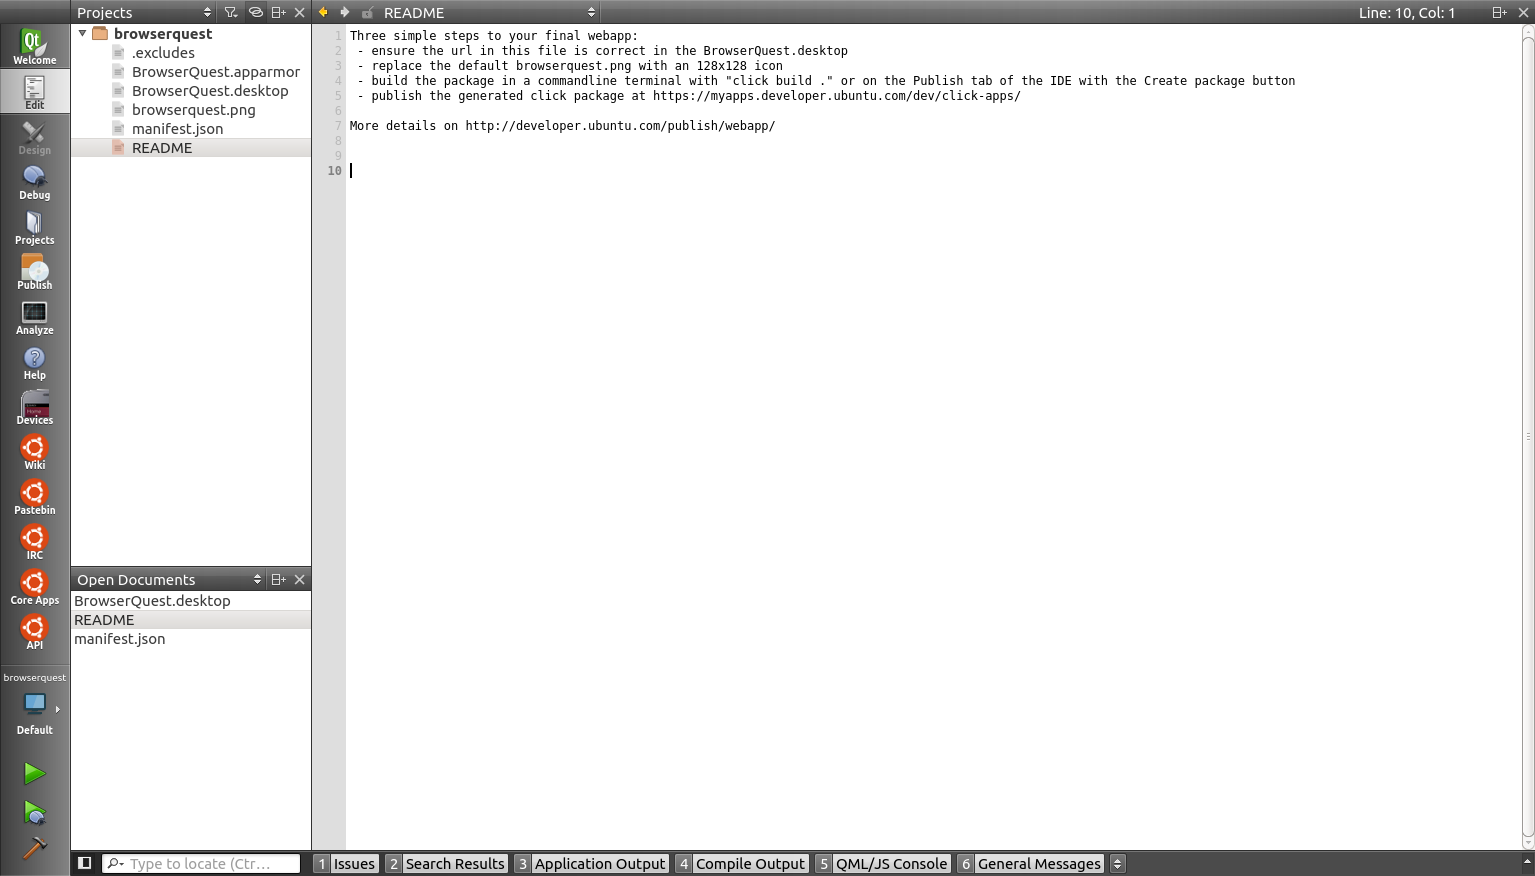
That’s it, your project is now created and the SDK has generated a few files you need to complete.
Step 2 : Completing the template
Once you navigate to the Edit page, you can see that the SDK has created the following files :
BrowserQuest.apparmor: Security Policy Groups your app needs to work on the deviceBrowserQuest.desktop: infos needed by Ubuntu to launch your app and show it to the userbrowserquest.png: a default icon you will replace latermanifest.json: infos needed to identify your app and declare it to the system- a
READMEfile that covers the basics for setting up a webapp
The icon
First, we are going to replace the default icon by a new 256x256 one, which is the minimum size for it to look good in the store. Luckily, BrowerQuest is open source and we can find a lot of resources, such as sprites from the game. Make sure your follow our good practices. Here is the icon I’ve created:
URLs
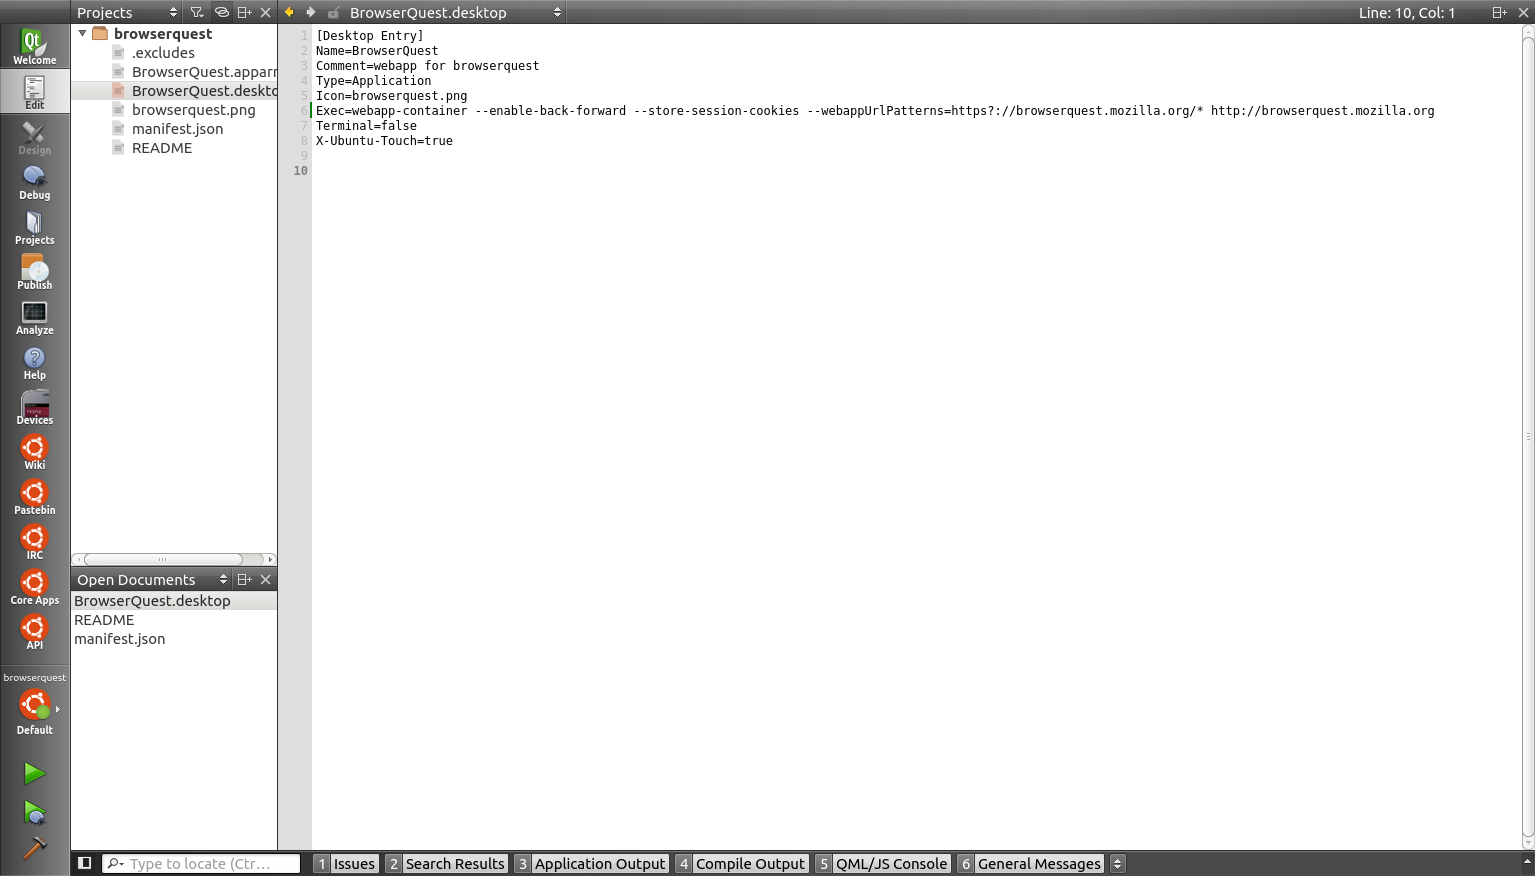
We need to add the URL of the game to the .desktop file : http://browserquest.mozilla.org The Exec line is where we need to add it, but we are also going to add an URL pattern, to make sure the webapp has access to URLs matching this regex: https?://browserquest.mozilla.org/* Our line now looks like this :
Exec=webapp-container --enable-back-forward --store-session-cookies --webappUrlPatterns=https?://browserquest.mozilla.org/* http://browserquest.mozilla.org
You can add several patterns as arguments. For example if you wanted the webapp to be allowed to navigate to the rest of mozilla.org, you could do :
Exec=webapp-container --enable-back-forward --store-session-cookies --webappUrlPatterns=https?://browserquest.mozilla.org/* https?://mozilla.org/* http://browserquest.mozilla.org
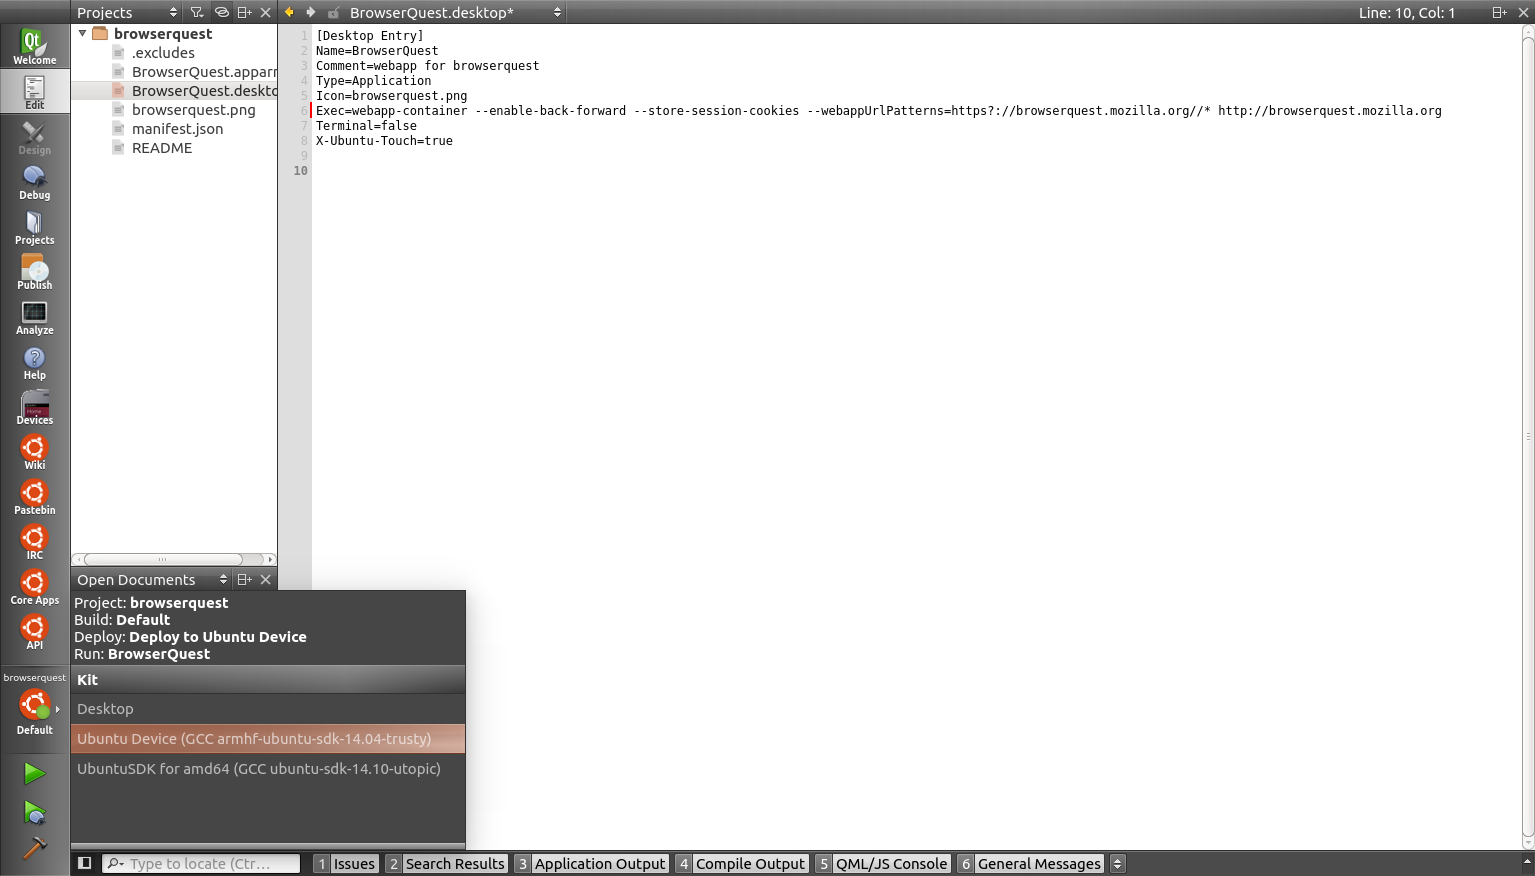
Step 3 : Testing
We are almost done! To test your app, click on the Ubuntu icon above the play
button, pick a device, then press Run (the play button).
Your app is now being loaded onto the device and should open after a few seconds...
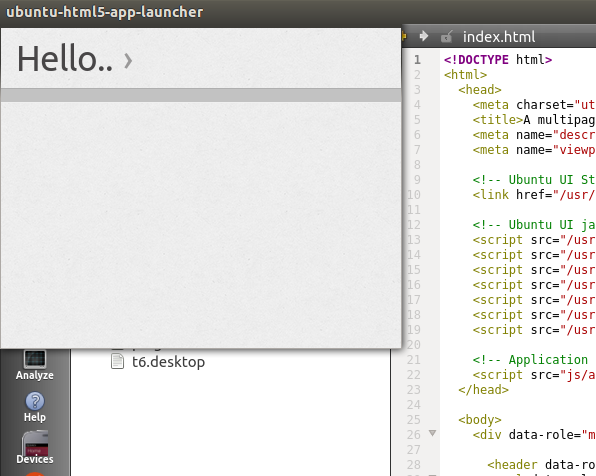
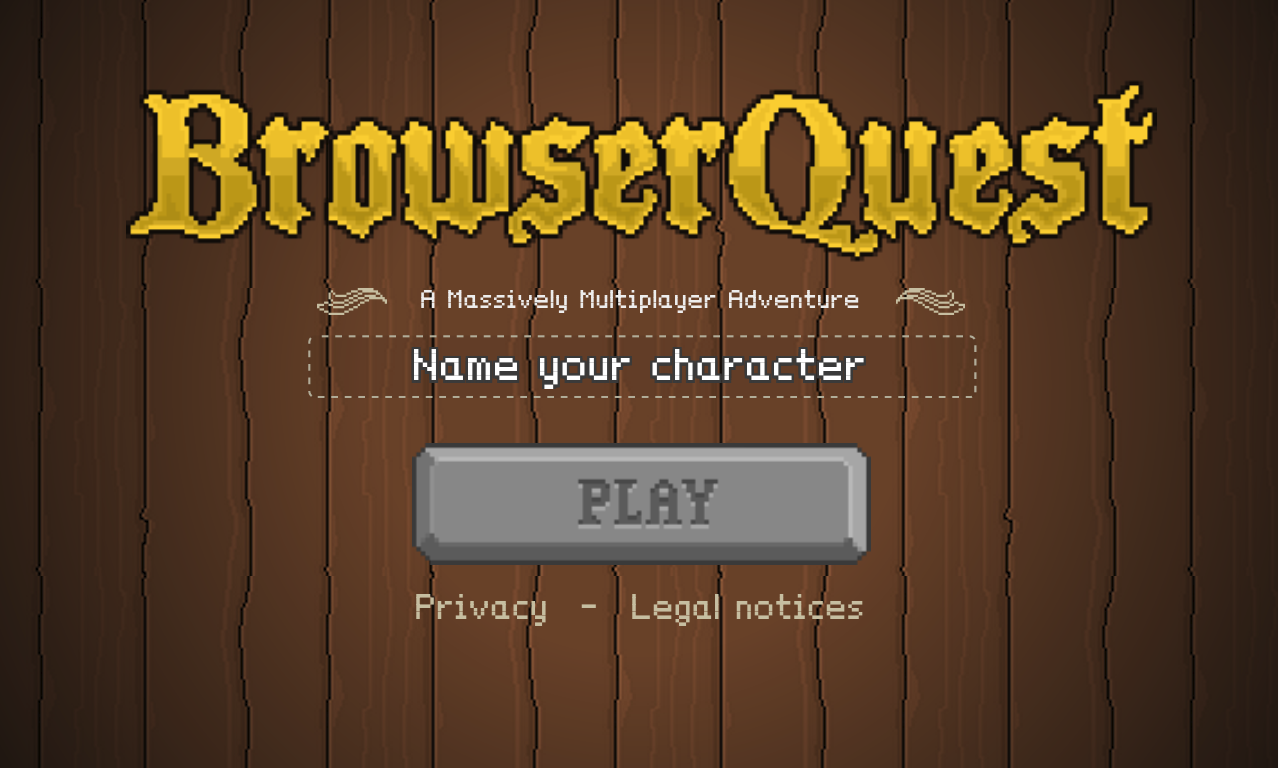
Here it is! But there seems to be one thing we need to fix : the default webapps view has more chrome than needed for this game. We can fix that by changing a few parameters, like removing the navigation arrows and make the app fullscreen.
Exec=webapp-container --fullscreen --store-session-cookies --webappUrlPatterns=https?://browserquest.mozilla.org/* http://browserquest.mozilla.org
Much better ! More options are available depending on your needs, here are some common ones:
--fullscreen --maximized (desktop only) --enable-back-forward --enable-addressbar
You can see the complete list by running in a terminal: webapp-container
--help Note that the application is (and will always be) confined in a
safe container. Cookies will not be shared with the default browser and other
web apps. Now that we have a working app, we need to package it before
publishing...

Step 4: Creating your package
The Publish page of the SDK lets you create and validate the package you will publish to the store. It will be created in the folder containing your project folder.
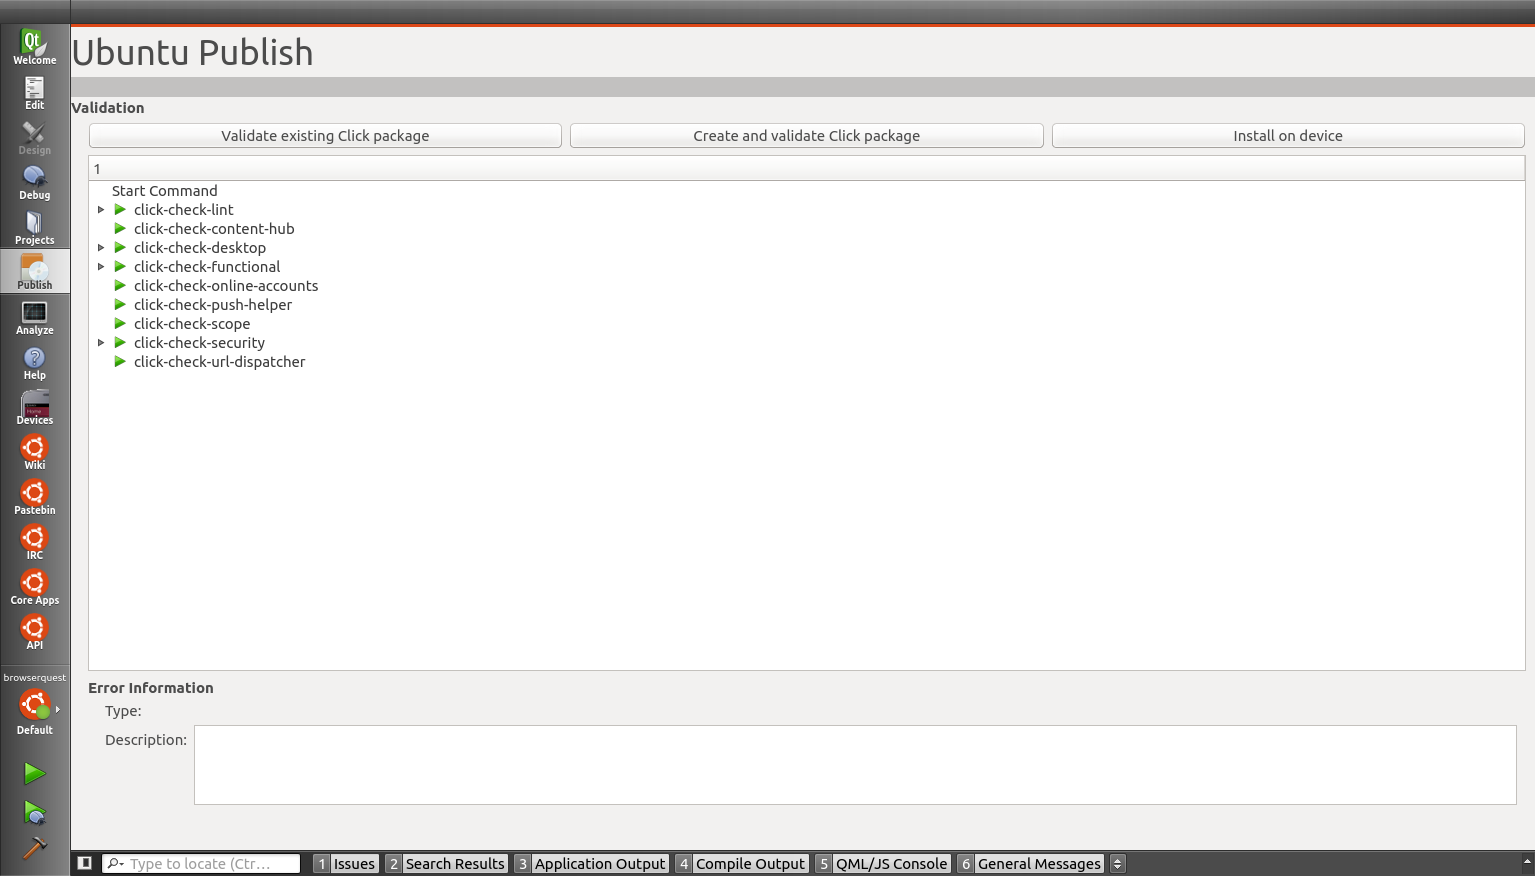
If all tests are green, you can see how your app looks along others by installing it on your device, directly from the Publish page with the Install on device button.
Publishing your app
We are done with the SDK. Once you have successfully created a click package and are happy with how it looks and works, you are ready to upload it and start the process of publishing it.